Rear displacer swap - subframe in car.
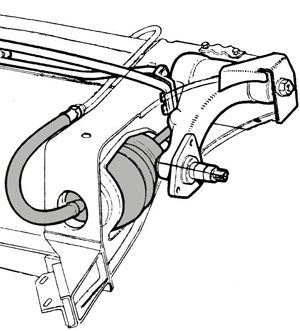 In complete contrast to the front displacers, with their hoses and junctions on full display in the engine bay, the rear displacers are mounted horizontally within the rear subframe, partially hidden by it and further concealed by the fuel tank. This position forms a mud trap and, over time, mud and gravel can build up around the point where the hose enters the unit. Eventually rust erodes the metal collar on the hose connection and pressure is lost.
This area is visible once you remove the road wheel. It is relatively easy to clean any mud away and a apply bit of rust protection to the metal collar. What is not easy is replacing the whole unit.
Most workshop manuals dictate that to replace a rear displacer unit the whole rear subframe had to come out and be partially dismantled. Removing the subframe is quite a palaver and requires brake hoses and exhaust to be disconnected and the suspension on both sides to be depressurized and disconnected. However, if you don't have access to a Hydrolastic pump that can induce a vacuum in the system then you may have no choice.
However, the Leyland Australia workshop manual makes no such demands and makes the whole operation seem like a doddle: Raise the car, remove the road wheel, depressurize just the side being worked on, disconnect hose, remove strut, remove displacer... of course this is not quite the full story.
One important detail that allows you to remove the strut is that you depressurize AND evacuate (induce a vacuum in) the system but leave the hose connected. This causes the displacer to contract to its minimum length and provides the necessary clearance for removing the strut and then the displacer but the radius arm must be pushed up out of the way against the torsion spring. The displacer needs to be supported while the hose is finally disconnected.
Fitting the replacement unit is almost as easy - but you have to take care not to place stress on the hose junction.
Connect the unit up to the car but support it next to the subframe. Then use the hydrolastic pump in reverse (evacuation mode) and create a vacuum to make the displacer contract sufficiently to allow it to slip into place with just a gentle nudge, then fit the strut and carefully release the vacuum while ensuring it seats correctly. Then pump up the system to the correct pressure.
Choosing a suitable secondhand displacer
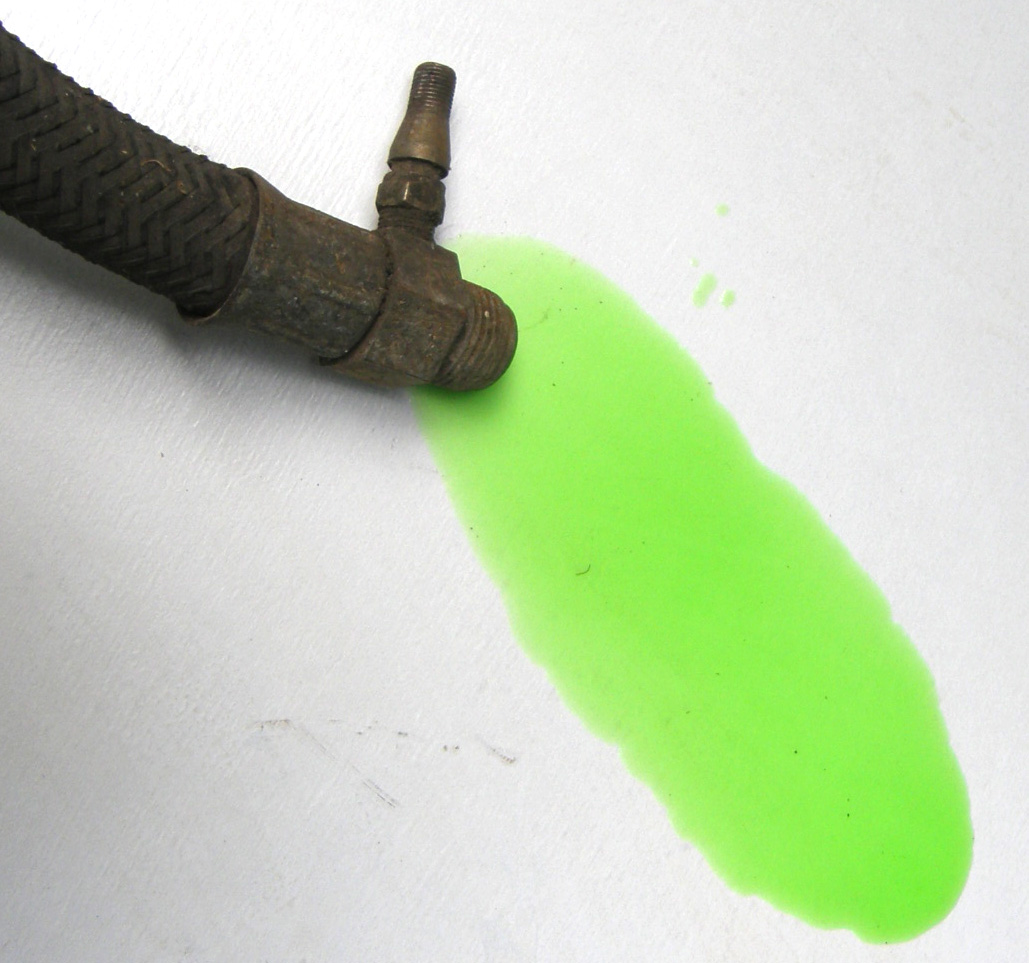 If you are removing a displacer from a scrapped car, and the system is still sealed, you can check the condition of the fluid that had been in it. It should be bright green. However if you are choosing one "off the shelf" then it is not as easy to judge its condition as you won't know how long it has been sitting around.
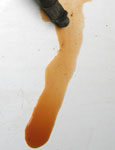
Choosing a good secondhand displacer can be a bit of a lottery but you can increase your chances of picking a good one with a few visual checks. Firstly the hose and the metal connection should be in good shape, no cracks in the rubber and no rust on the metal. Tip the unit up to see if any fluid runs out. Green fluid is a good sign - at least the correct fluid was used when it was last in a car. If dark brown fluid comes out then there may be a bit of rust internally and perhaps a good flush will see it right, but if rusty water comes out then the unit is most likely useless.
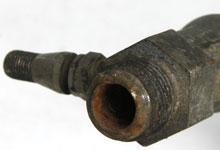 If no fluid comes out and you can hear something rattling inside, then it is probably little chunks of rust and if you shake the unit enough some will eventually fall out of the pipe. If the displacer is dry and no rusty fragments fall out, check inside the hose - you can see about a centimetre down inside it and any rust will be obvious.
It is vital to check for evidence of rust (due to incorrect fluid) as the valves inside can sieze completely, restricting correct movement of fluid in and out of the unit leaving it rigid and unresponsive to the movement of the other displacer in the circuit.
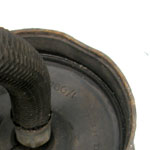
 If the unit becomes rusty internally (and the valves sieze) while installed in a vehicle, continued use can leave circular damage marks in the rubber on the top of the unit where it contacts the subframe mounting during severe impacts.
Normally severe impacts will send a surge of fluid to the opposite end of the car and the suspension will bottom out on the bump stops, but if the valves are siezed the full impact will be bourne by the rubber as the trapped fluid will not compress to cushion the impact and the whole lot will be forced upwards until the rubber hits the subframe.